

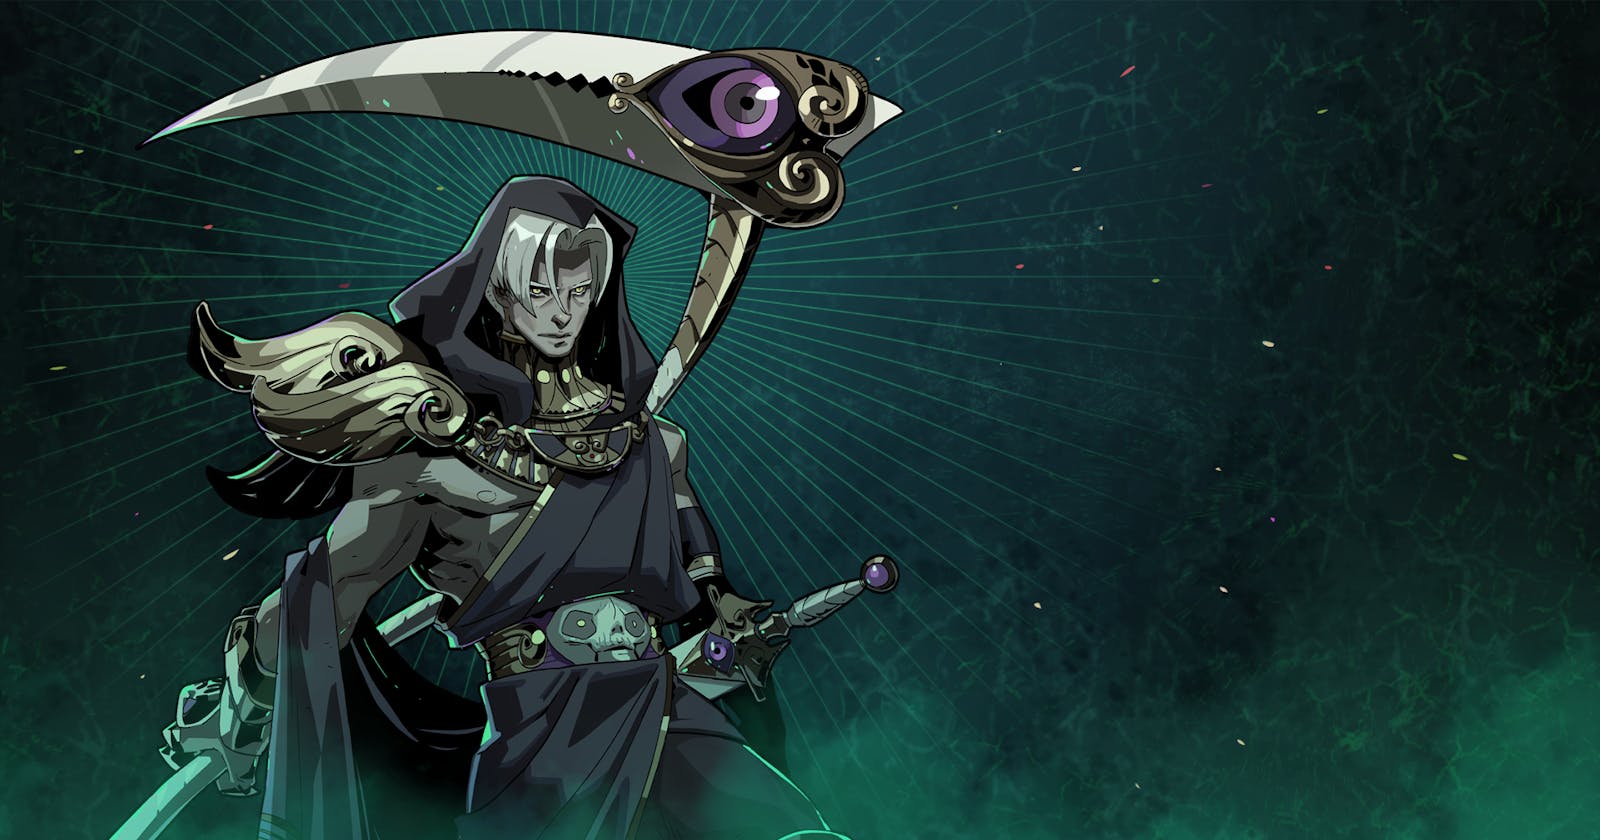
Imagine trying to tell a story with just a few colored pixels (coloured if you use UK English lol) That's kinda the world of the 2D sprite artist. Every pixel is important, you gotta show a character's whole personality, their emotions, what they're doing –all with a limited palette. It's like writing a haiku – gotta be short and clear!!
These sprites gotta be clear as day, no matter how small they are on the screen or how fast they're moving. Think about those old arcade games – you could instantly tell a good guy from a bad guy, even with just a few pixels. Now, don't get me wrong, 3D models have their own challenges. But animation in 2D? That's a whole other challenge. You gotta draw every single frame of movement, making sure each one is clear and that they all flow together smoothly. It's like a flipbook coming to life, and it takes some serious skill to pull off.
BUT, using 3D models for 2D sprites can remove a whole load of work and effort from your bag . You've probably heard of the game Dead Cells, right? Their 2D graphics are killer, but here's the crazy part: they use a Homebrew 3D program to build the foundation for those animations! It sounds like cheating but I find it genius
Let's break down their secret sauce:
First, they sketch out the character or item on a piece of paper. This acts like a blueprint for the 3D model they're about to build.
Now, don't picture anything too crazy here. Building these super basic 3D models in programs like 3DS Max would be the go to although they used an homebrew program themselves. Think Legos – simple shapes like cubes and tubes put together to represent the core shape of the sprite. It's all about function over fancy details at this point.
The cool part is, once they have this basic 3D model, they can pose and animate it within the program. Imagine a digital puppet with a virtual skeleton. This lets them create all sorts of animations – walking, attacking, jumping – super quickly!
Then comes the lighting and rendering. Here's where they use the 3D program's muscle to add shadows, highlights, and all that good stuff to give the sprite some depth and polish. Basically, they're making it look less flat and more, well, alive!
Finally, they take each frame of the animation and export it as a separate 2D image. It's like flattening out all that 3D information into a stack of pictures. These images are then what the game uses to bring the character or object to life on screen.
But this takes a bit of knowledge in learning how to use 3D software and then the caveats behind rendering a proper model like lighting, physics and animation. Once you have the proper skills, making 2D sprites will become much easier and faster maybe even giving a better output than drawing every single sprite one by one.
Alright, that's enough behind-the-scenes geekery from me! The point is, using 3D for 2D stuff might seem wacky, but it's a trick that can really pay off. It lets you animate things faster and even adds a hint of 3D-like depth to your otherwise flat sprites.
So, whether you're a pro artist or a game dev newbie like me, this 3D-for-2D trick is definitely worth checking out. A little outside-the-box thinking can do wonders for making your 2D world come alive!